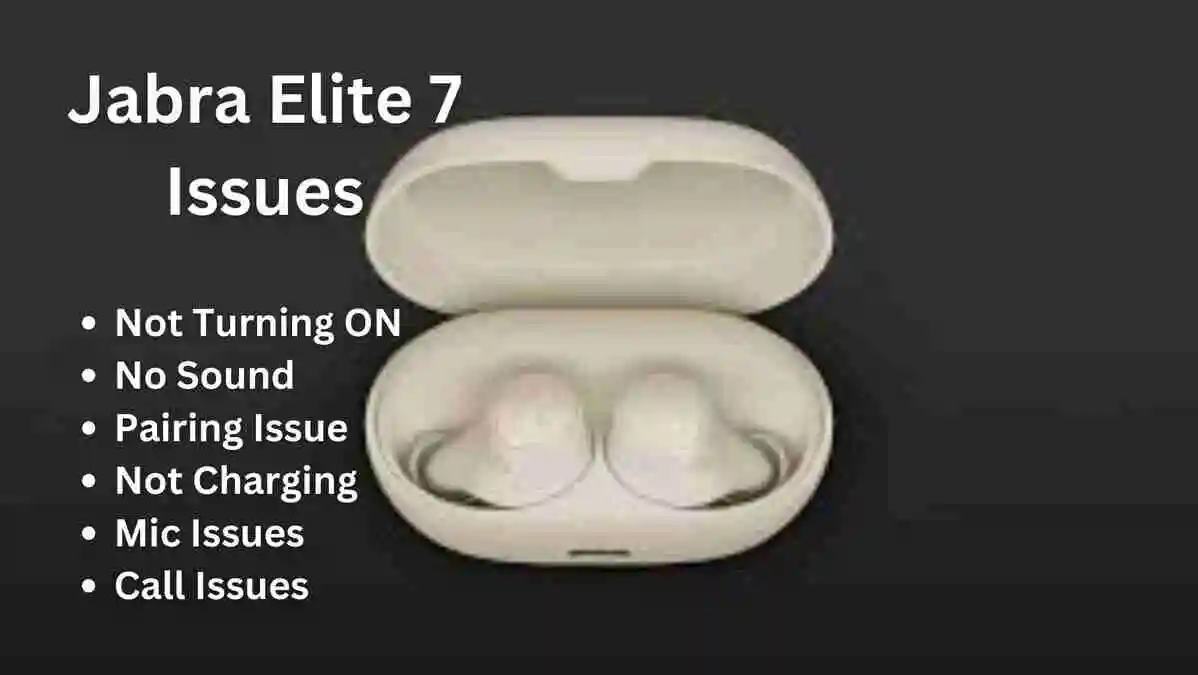
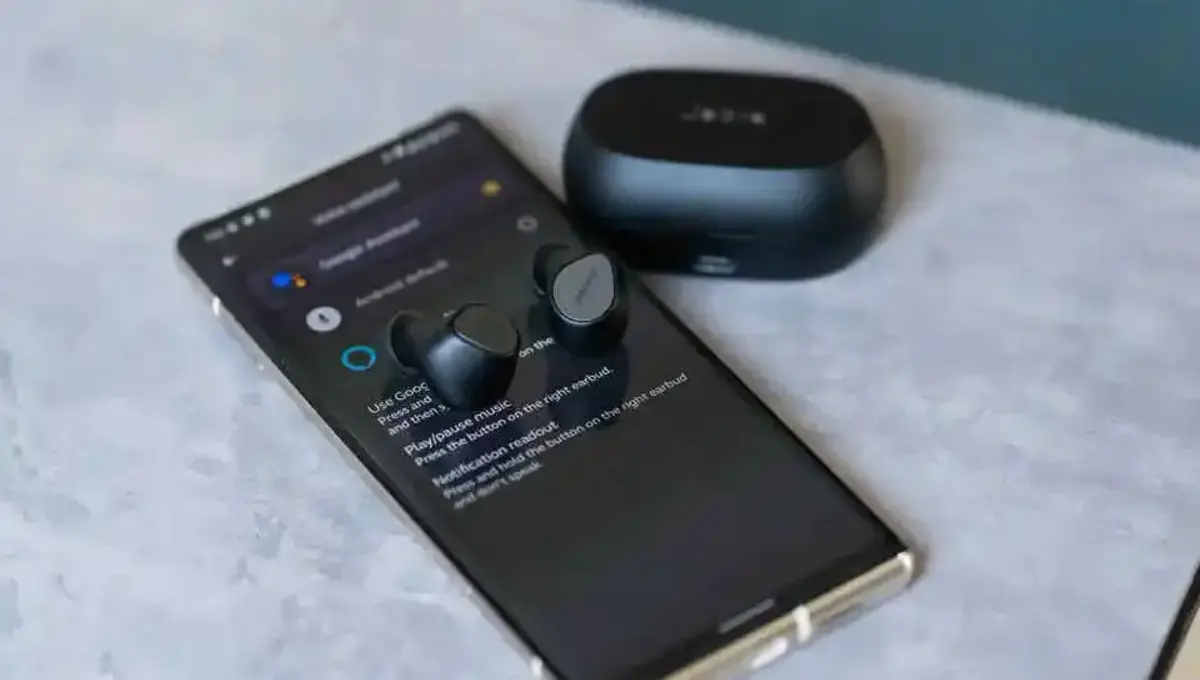
In the ever-evolving landscape of audio technology, the Jabra Elite 7 Pro has garnered significant attention as a high-performance wireless earbud option. However, as users delve into the intricate realms of this sophisticated device, a myriad of challenges and concerns have surfaced, prompting a closer examination of the jabra elite 7 pro problems.
In this article, we aim to shed light on the common jabra elite 7 pro issues encountered by users, such as not turning on, sound issues, not charging and clicking noices, exploring potential jabra elite 7 pro troubleshooting and offering insights into the overall user experience.
Few Things To Know:
Facing Issues Early On: If you’re having problems with your Jabra Elite 7 Pro right after buying them, think about returning them for a refund or using the 2-year warranty, which covers dust and water resistance.
There’s also a 1-year limited warranty for manufacturing defects. Make sure to check your warranty period and see what replacement options are available.
How Long They Last: Normally, Jabra Elite 7 Pro earbuds work well for about 1 year and 10 months with daily use of over 3 hours.
If you’ve been using them for around 22 months, it might be a good idea to think about getting new headphones to make sure you keep getting good sound quality.
Quick Fixes To Try:
1. Reset: (Must Try This)
Resetting your Jabra Elite 7 Pro earbuds is a straightforward process. Just follow these steps:
- Put both earbuds into the charging case.
- Press and hold the buttons on both earbuds at the same time for approximately 20 seconds.
- Wait for the earbuds to reset; you’ll know it’s done when you see a purple light blinking on both earbuds.
- Take the earbuds out of the case and connect them to your mobile device for pairing.
2. Update The Firmware:
To update the firmware on your Jabra Elite 7, follow these steps carefully:
- Take both earbuds out of the charging case and make sure they are paired with and close to your mobile device.
- Open the Jabra Sound+ app and tap on the Discover icon.
- Tap on “Update now” to start the update process. Make sure to agree to the license terms to allow the update for your Jabra device.
- Place the earbuds back into the charging case and close the lid.
- Follow the onscreen instructions within the app to proceed with the update. The update might take up to 15 minutes, and you’ll notice the LED on the charging case flashing pink during this period.
- Once the LED stops flashing pink, wait for at least 10 seconds before opening the charging case. If the LED continues to flash after 15 minutes, open and then close the charging case lid.
- You’ll receive a notification in the Jabra Sound+ app when the firmware update is successfully completed.
Important: Do not disconnect your Jabra device during any part of the update process.
Additional Notes:
- Resetting will remove paired devices, so remember to reconnect them afterward.
- Your audio files and settings will remain unaffected by the update process.
Jabra Elite 7 Pro Problems (6 Issues Fixed)
Here we have fixed basic jabra elite 7 pro not working issues, like one earbud not working
1. Volume Issue:
If you find that the volume on your jabra elite 7 pro volume too low, there are a few potential causes and solutions to explore.
As an initial step, try adjusting the volume directly on the Jabra Elite 10 earbuds instead of relying solely on adjustments from your connected device. This simple action can often resolve jabra 7 pro volume low problem.
If the low volume persists, especially while using Spotify, check the volume normalization option in the Spotify settings. Additionally, inspect your iPhone’s volume settings; ensure there are no restrictions set in the system. Typically, keeping it around 40% is sufficient for most users.
If you’re experiencing jabra elite 7 pro low mic volume, which is equipped with 6 microphones for voice pickup, consider a potential fit or anatomy issue. Ensure that none of the microphones are blocked by your ear for optimal performance.
In the case of the jabra elite 7 pro right earbud low volume, it may be attributed to a sound equalization-related hole. This is not a defect, and you can easily resolve it by cleaning. Identify a small hole, typically located under the ‘R’ letter, beneath the charging connectors. Cleaning this area, especially if it accumulates debris, can restore balanced volume.
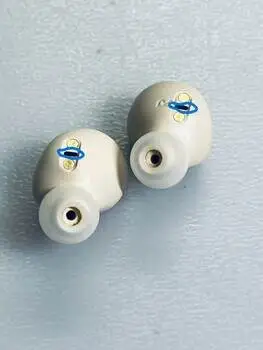
However if you are facing jabra elite 7 pro no sound, the culprit might be an internal build-up of earwax, leading to an unintended seal within the earbud. For cleaning; Take off the silicone seal, locate a tool that fits through the earbud’s slim opening, and gently brush or scrape the interior to clear away any debris.
2. Not Turning On:
If your Jabra Elite 7 pronot turning on, try initiating manual activation by pressing the earbuds for 2 seconds until a blue light blinks, indicating they are in pairing mode. If this doesn’t resolve the issue, proceed with a firmware reload and reset, following the previously provided instructions.
The challenge of the Jabra Elite 7 pro not powering on is not unique to this model, and other versions may face similar problems.
To quickly troubleshoot, place the earbuds in the case, connect the charger for 1-2 seconds, and then check if they power on; look for the absence of a green light.
If these steps do not yield results, refer to the instructions for battery and charging problems below. As an alternative, consider utilizing your warranty.
If you’ve recently purchased the earbuds, seeking a refund might be a more practical choice than opting for a replacement, as replacement earbuds may encounter similar issues.
3. Charging Issues:
Important Note: Similar to your phone, the lithium battery in Jabra Elite 7 pro earbuds has an approximate lifespan of about 1 and a half years. After this period, the battery cells may experience reduced capacity, affecting their ability to hold a full charge.
If you encounter persistent issues, it might be time to consider getting new earbuds.
If your Jabra Elite 7 pro not charging, try placing them in the case after cleaning the charging points. Gently press the earbuds for 3 minutes and then see if they are charged or not,
If successful, consider using a paper or rubber to apply pressure on the earbuds or tighten the case lid as an alternative to pressing with fingers for an extended period.
Tips for Addressing Fast Battery Drain in Older Earbuds:
- Disable unnecessary features to conserve battery life.
- Ensure the charging cable and port are clean and undamaged.
- Use a high-quality power adapter and charging cable.
- Avoid overcharging the earbuds.
- Allow the earbuds to cool down before placing them in the charging case.
If the issue persists, there might be a problem with the charging case, in which jabra elite 7 pro case not charging. Consider exploring options for Jabra Elite 7 pro charging case replacement. Please do this if you notice fast battery draining in your Jabra Elite 7 pro.
Note: If you are confident that the issue specifically lies with the charging case and not any particular earbud, consider opting for a replacement charging case.
In case of a problem with a single earbud, explore the possibility of purchasing replacement earbuds for the Jabra Elite 7 pro. (Ensure that you adjust the location on the Jabra website to the USA to view the available options).
4. Connectivity Issues:
Before anything else, ensure you are familiar with the pairing process in manual of jabra elite 7 pro. If you’re facing difficulties with Jabra Elite 7 pro not connecting, try manual pairing by holding the earbuds’ buttons for 2 seconds while they are outside the case until you see a blue light blinking, indicating they are in pairing mode.
Consider updating and resetting the earbuds. This can often address jabra elite 7 pro pairing issue. If putting your earbuds into pairing mode proves challenging, perform a factory reset on your Jabra Elite 7 pro. Follow the reset instructions as detailed above. This reset can also resolve problems with the jabra elite 7 pro connection issues. Be cautious about renaming them, as this action may lead to issues in connecting to the app.
By following these troubleshooting steps, you can potentially resolve pairing issues and ensure smooth connectivity for your Jabra Elite 7 pro.
5. Noise Cancelling Issue:
If you find that the Jabra Elite 7 pro noise cancellation not working as expected, it’s crucial to understand some key aspects of how Active Noise Cancellation (ANC) operates.
ANC works by generating an out-of-phase signal to counter external noise, and the volume of the inverse wave must match that of the ambient sound.
For the Jabra Elite 7 pro, there are certain limitations, particularly in the effectiveness of ANC, especially in bass frequencies. In situations where ANC might be less effective, Passive Noise Cancellation (PNC) comes into play. Properly fitting earbuds contribute to effective PNC, blocking out external sounds.
Note: Maintain the effectiveness of Passive Noise Cancellation by keeping the earbud sensors clean, as dirt accumulation can compromise their performance.
To address jabra elite 7 pro anc not working, also consider reloading the firmware following the previously provided instructions.
Additionally, ensure that the earbuds are securely and comfortably positioned in your ears to maximize passive noise cancellation. In cases where ANC is not functioning optimally, the effectiveness of passive noise cancellation becomes crucial in mitigating external noises.
6. Mic Problems:
If you are wondering how to fix jabra elite 7 pro microphone problem are seeking a solution, I found that flashing the firmware with another language, specifically German, proved to be effective.
Subsequently, I switched it back to English, and as of now, the microphone is working well. I’ll keep you posted if there are any changes or if the solution doesn’t remain effective.
Note: This mic troubleshooting in many cases won’t work, so it is good to return the product or replace the earbud and follow the below troubleshooting steps.
If you’re facing jabra elite 7 pro call quality issues and mic not working especially during calls, stick around for some solutions. First, make sure to download and install the Jabra Sound+ app from the Play Store or App Store.
Solution 1: Clean the Buds Properly Ensure the Jabra buds are clean by using the Jabra Sound+ app.
Solution 2: Allow Permissions In your phone settings, go to Apps, select Jabra Sound+ app, and make sure microphone and phone permissions are allowed. Do the same for any third-party apps you use for calls.
Solution 3: In-Ear Detection/Call Experience Settings Open the Sound+ app, go to headset settings, then to General. Check if In-Ear Detection is on and make sure both left and right earbuds are worn properly. Toggle off “Auto Mute Microphone” if it’s on.
Solution 4: Manually Change Audio Settings When making or taking calls, select the Bluetooth device from your device settings.
Solution 5: Remove, Reset, and Reconnect Jabra Elite 7 Pro If the issue persists, forget the device from your device settings, reset your Jabra Elite 7 Pro, and reconnect it. If there’s no serious hardware issue, this should solve the microphone problem.
Conclusion:
In short, this guide helps fix six common problems with Jabra Elite 10 earbuds. It covers issues like low volume, power troubles, charging problems, difficulty pairing, noise cancellation limits, and detection challenges.
The guide suggests practical steps like updates and resets, and it encourages users to contact Jabra support for personalized help.

